Pinhole photography
August 1, 2018
First assignment
The first time I knew pinhole photography was back in junior high school. It was an assignment from the Physics class, we were asked to build a camera using the pinhole effect. The design was simple Pringles cam with a tiny hole on the metal end. The other side was covered by a piece of semi-transparent paper. As light went through the pinhole and projected on the paper, producing an up-side-down image. The blurry image of I first saw have being in my head since then.
10 years after
The way we take photos changed so rapidly during the last ten years. The Kodak Express film development shop, feels like in a night, all disappeared from the high street. The compact digital camera rise and fall. Smartphones now taking the first place as the most popular Observation based on Most Popular Cameras in flickr user community photography devices. Even before I saved enough money for a entry level DSLR, the mirrorless camera already change the way we understand professional photography.
It would be interesting to take photos using the pinhole plus latest technology so I could digitalise those images as much as possible.
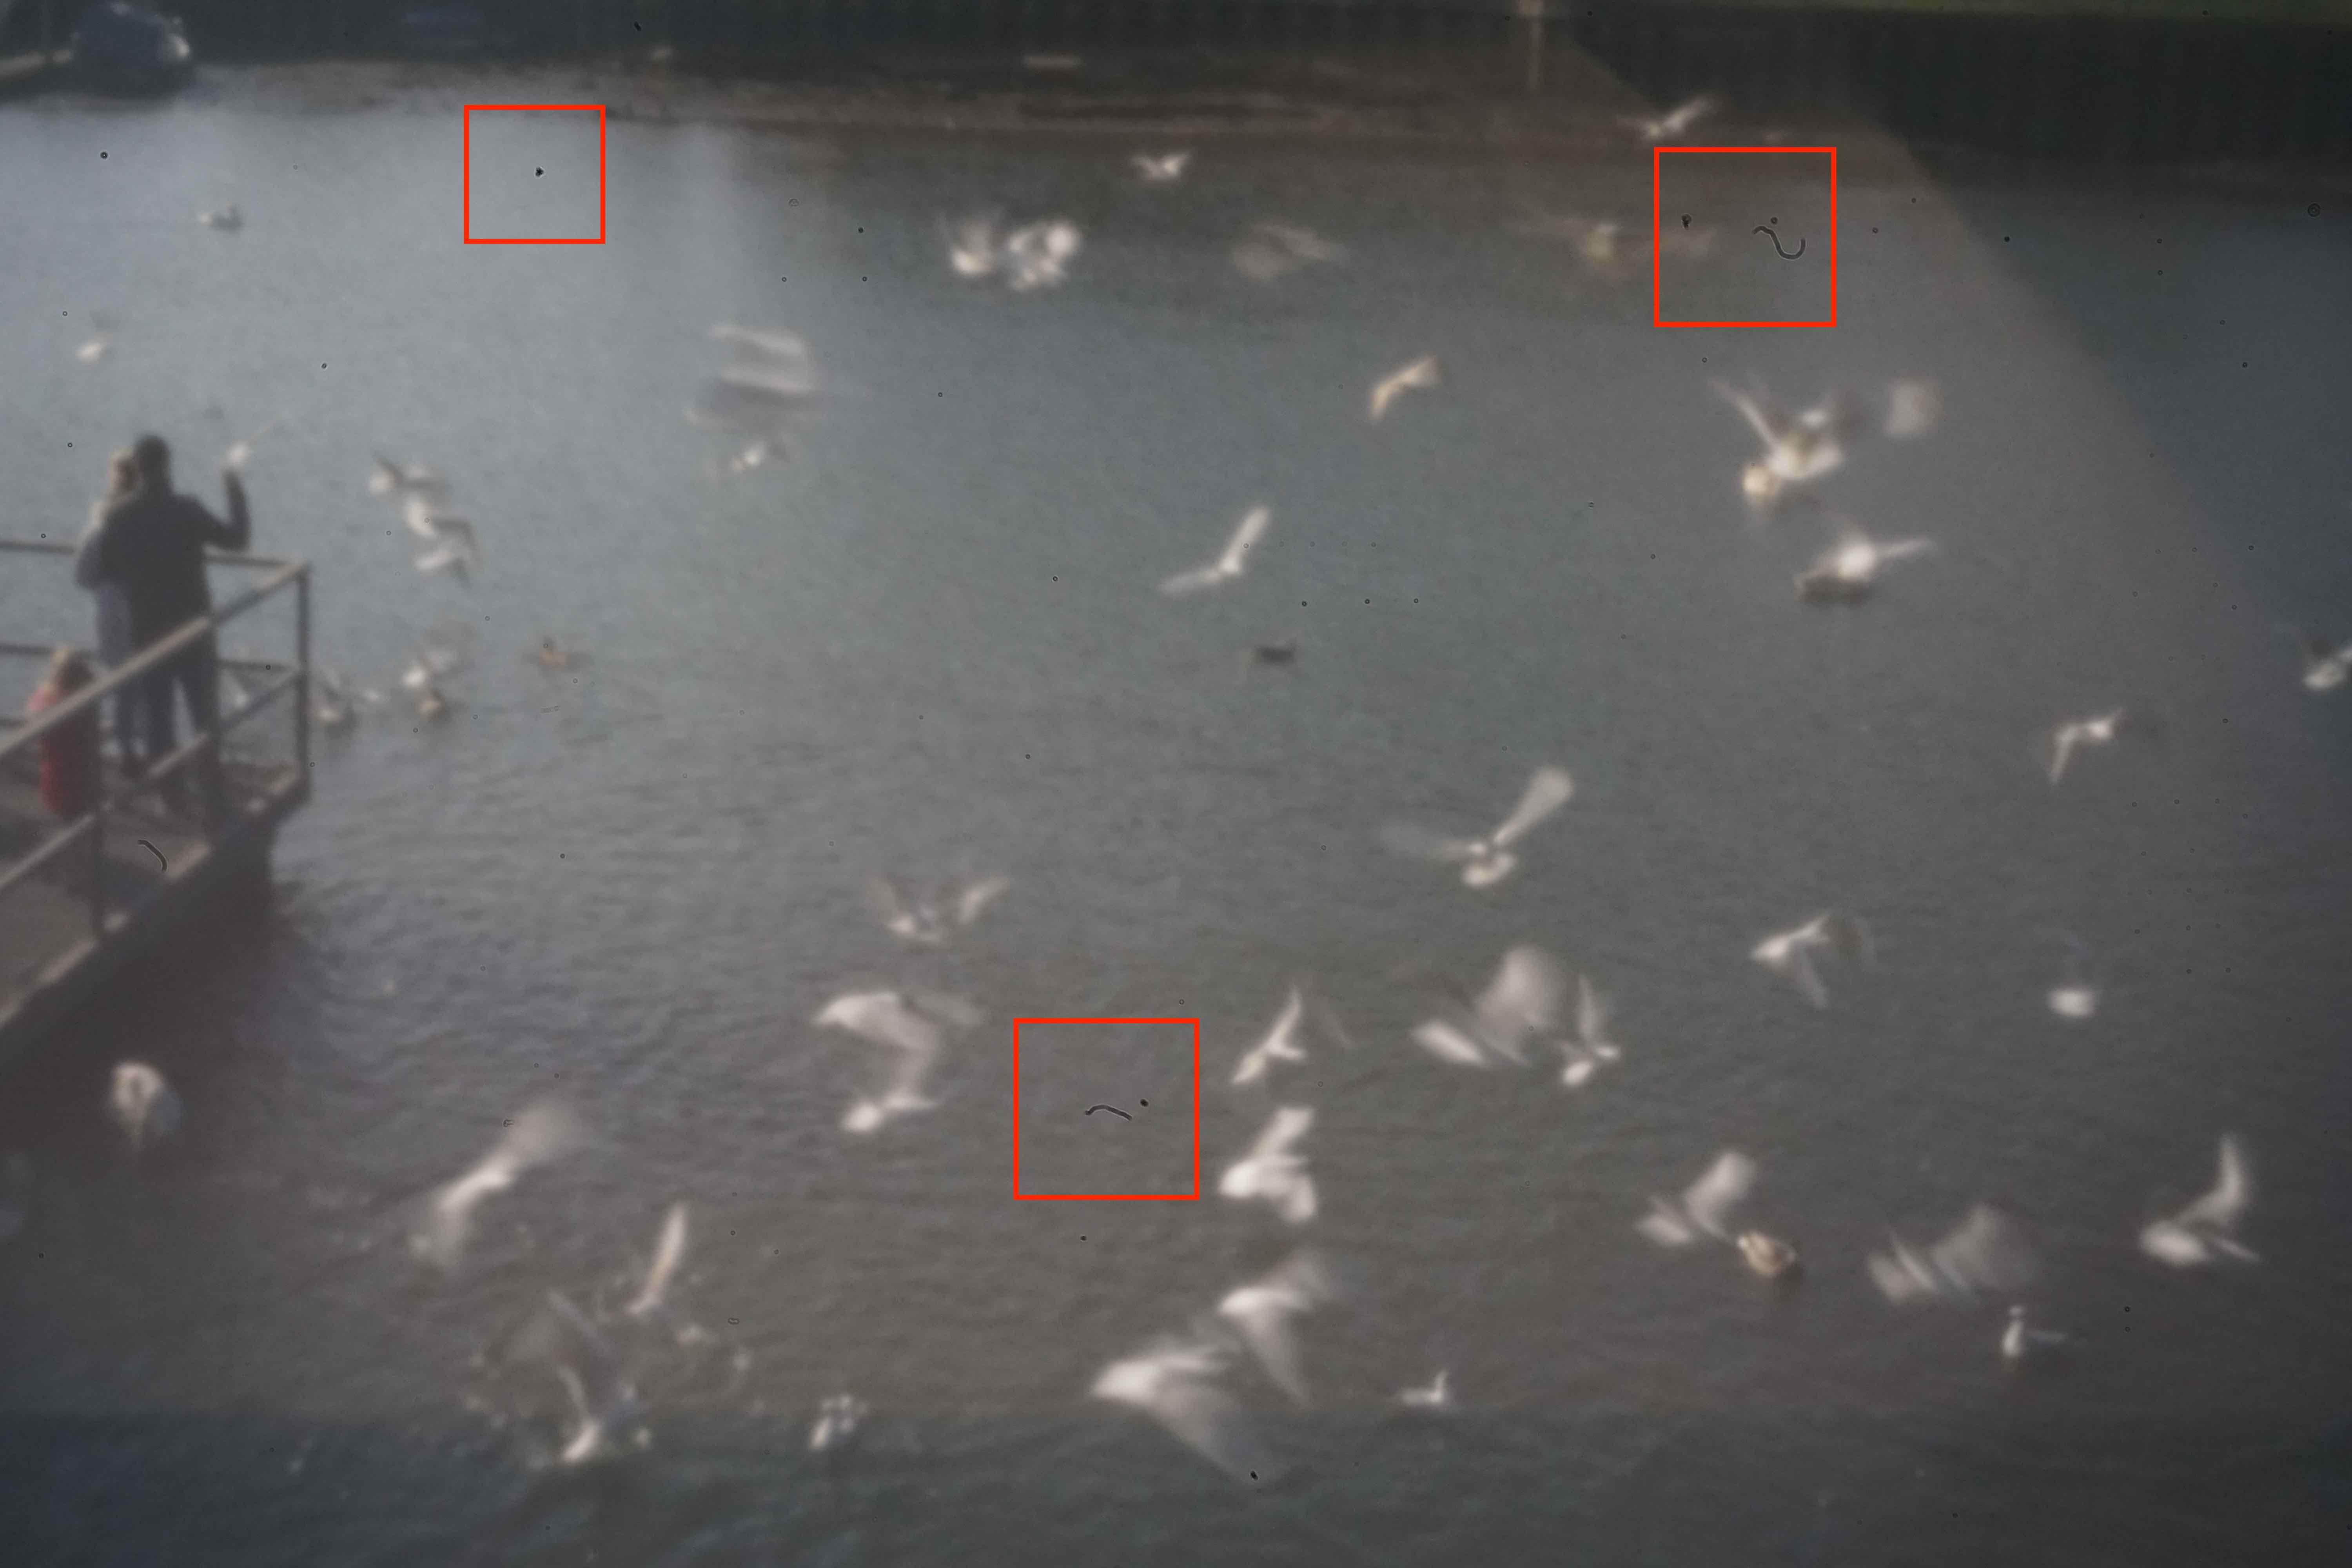
And here is how it looks like:
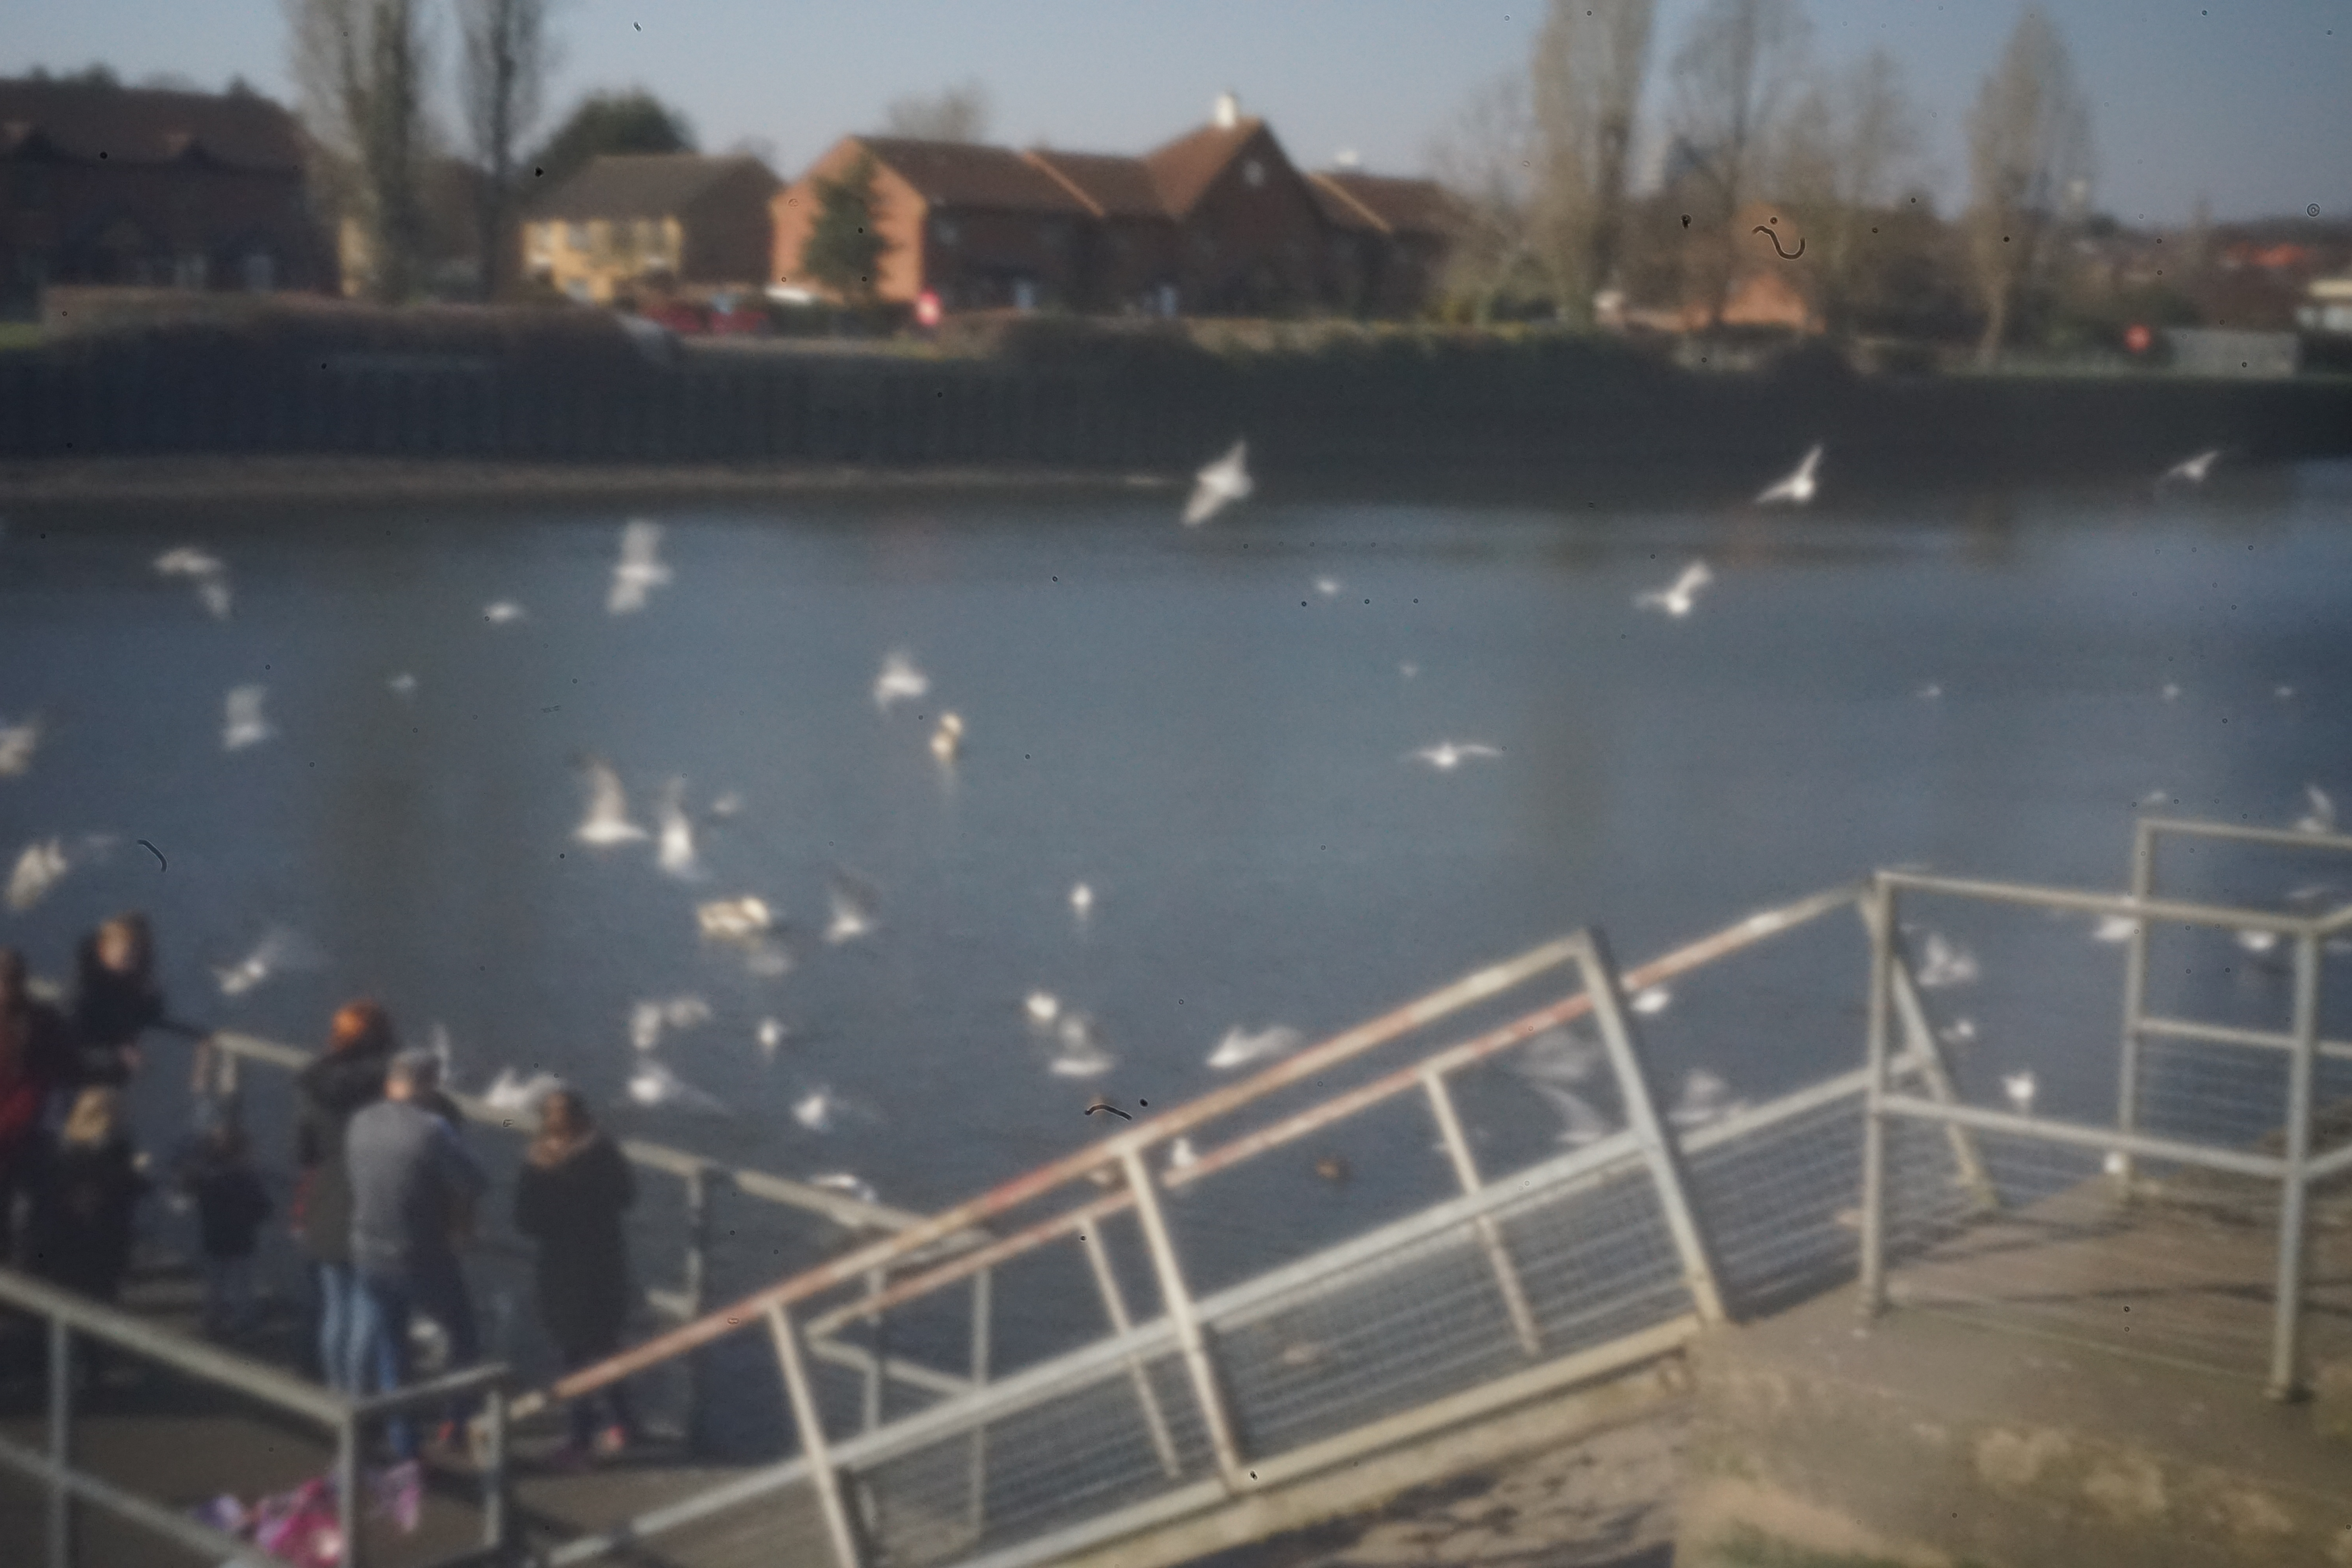
Here is it! Seagulls and People, a pretend-to-be 1960s photo taken a mirrorless camera. The camera use the exact same pinhole principle as my Pringles cam. The only difference is the now has a digital back so I could share the image with you. Judging by the standard of modern photography, it was horrible. The sharpness definitely wasn’t on a par with images produced by modern lens. However, the blurry and unsaturated flavour makes it creamy and even dreamy. I guess that is the reason why it is accepted as an alternative photography.
Engineering a pinhole
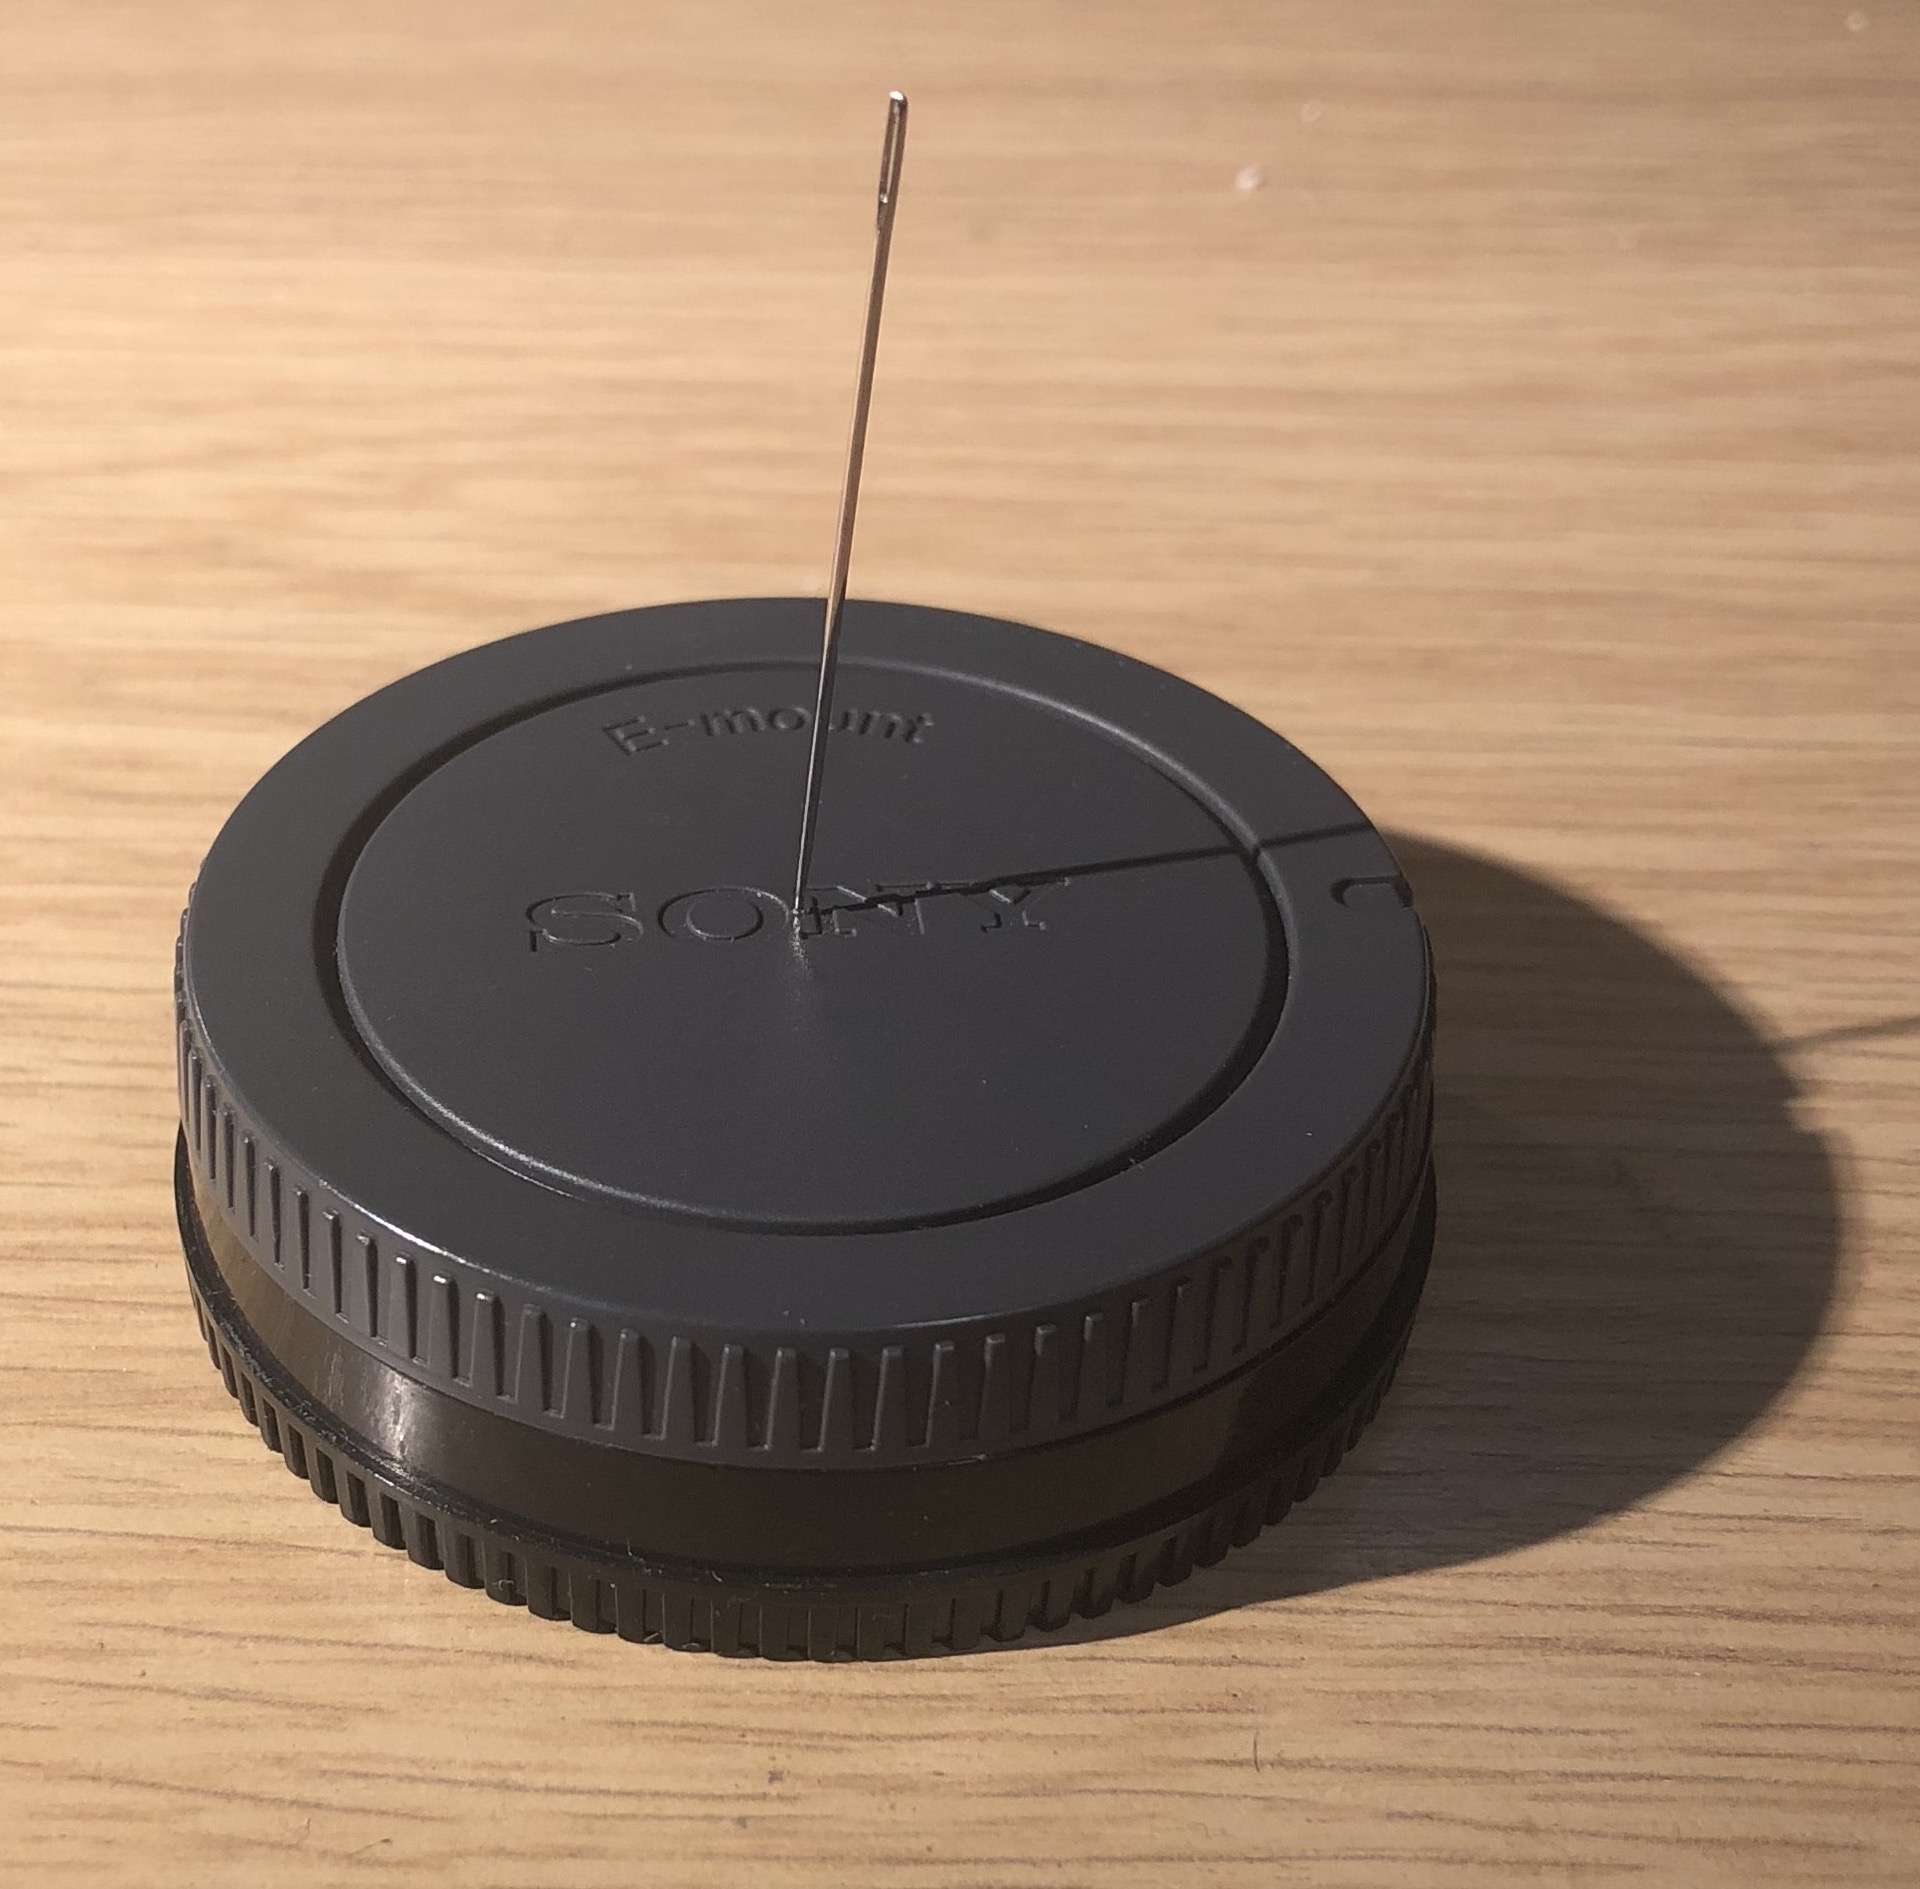
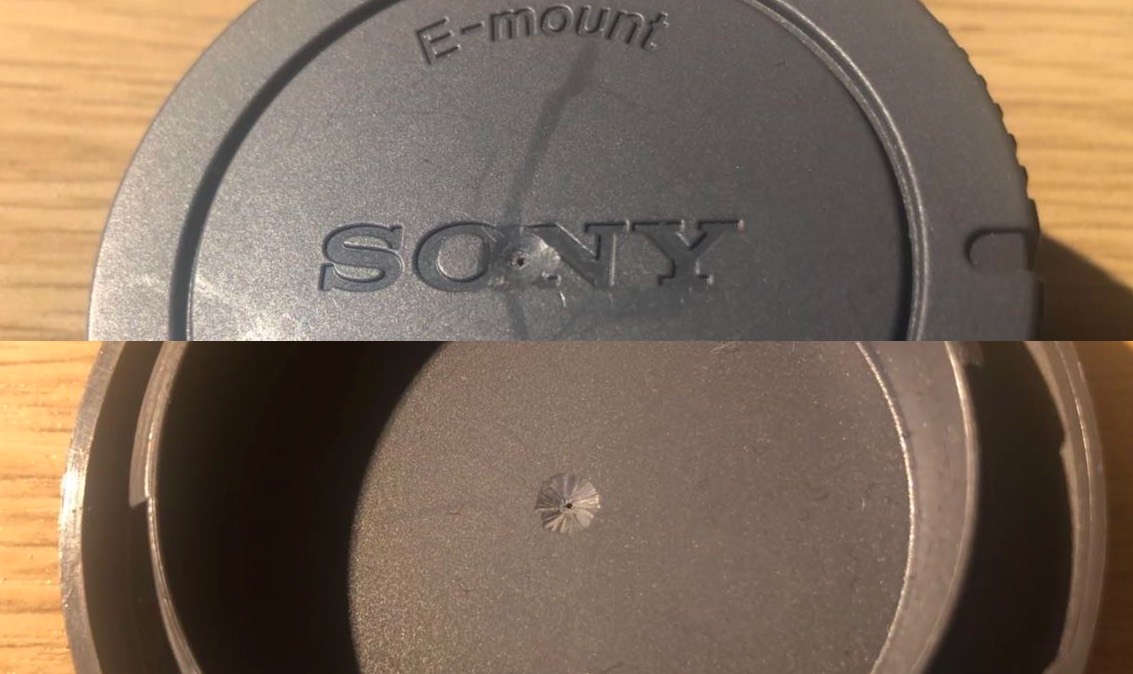
Needle on the body cap for pinhole
You could drill a hole on the body cap to get your first pinhole lens. Strictly speaking, pinhole lens is not a common optical lens focuses (or disperses) a light beam by means of refraction. A small hole from few micrometers to a hundred micrometers can act as a lens. The diameter of the pinhole is important to the quality of image.
Chris gives an empirical formula to the pinhole size depending on the focal length and type of color.
In this equation, is the diameter of pinhole, is focal length in millimeters and is a constant depends on the color. Because the lens doesn’t converge the light ray, as Atelier mentioned, His lensless photography is also an amazing source on pinhole photography. the focal length is the distance between the pinhole to image screen.
Table: Color constant given by Chris: web archive. Assume a 35 mm film or full frame digital equivalent
| Colors | Wave length | Color constant C |
|---|---|---|
| Daylight | 560 nm | 750 |
| Blue | 450 nm | 934 |
| Green | 550 nm | 763 |
| Red | 650 nm | 647 |
| Infrared | 750 nm | 561 |
Those information is enough for the engineering of pinhole. For example, if we’d like to design a pinhole lens at 50mm focal length and minimise the diffraction for day light. The diameter of the pinhole lens is
It is not necessary to use home tools to engineer a hole at such precision.
Since the visible light covers the spectrum from 400 to 700 nm, the diameter between 0.23 - 0.29 mm is acceptable.
Some very geeky ruler shows you how a 0.25 mm hole should looks like.
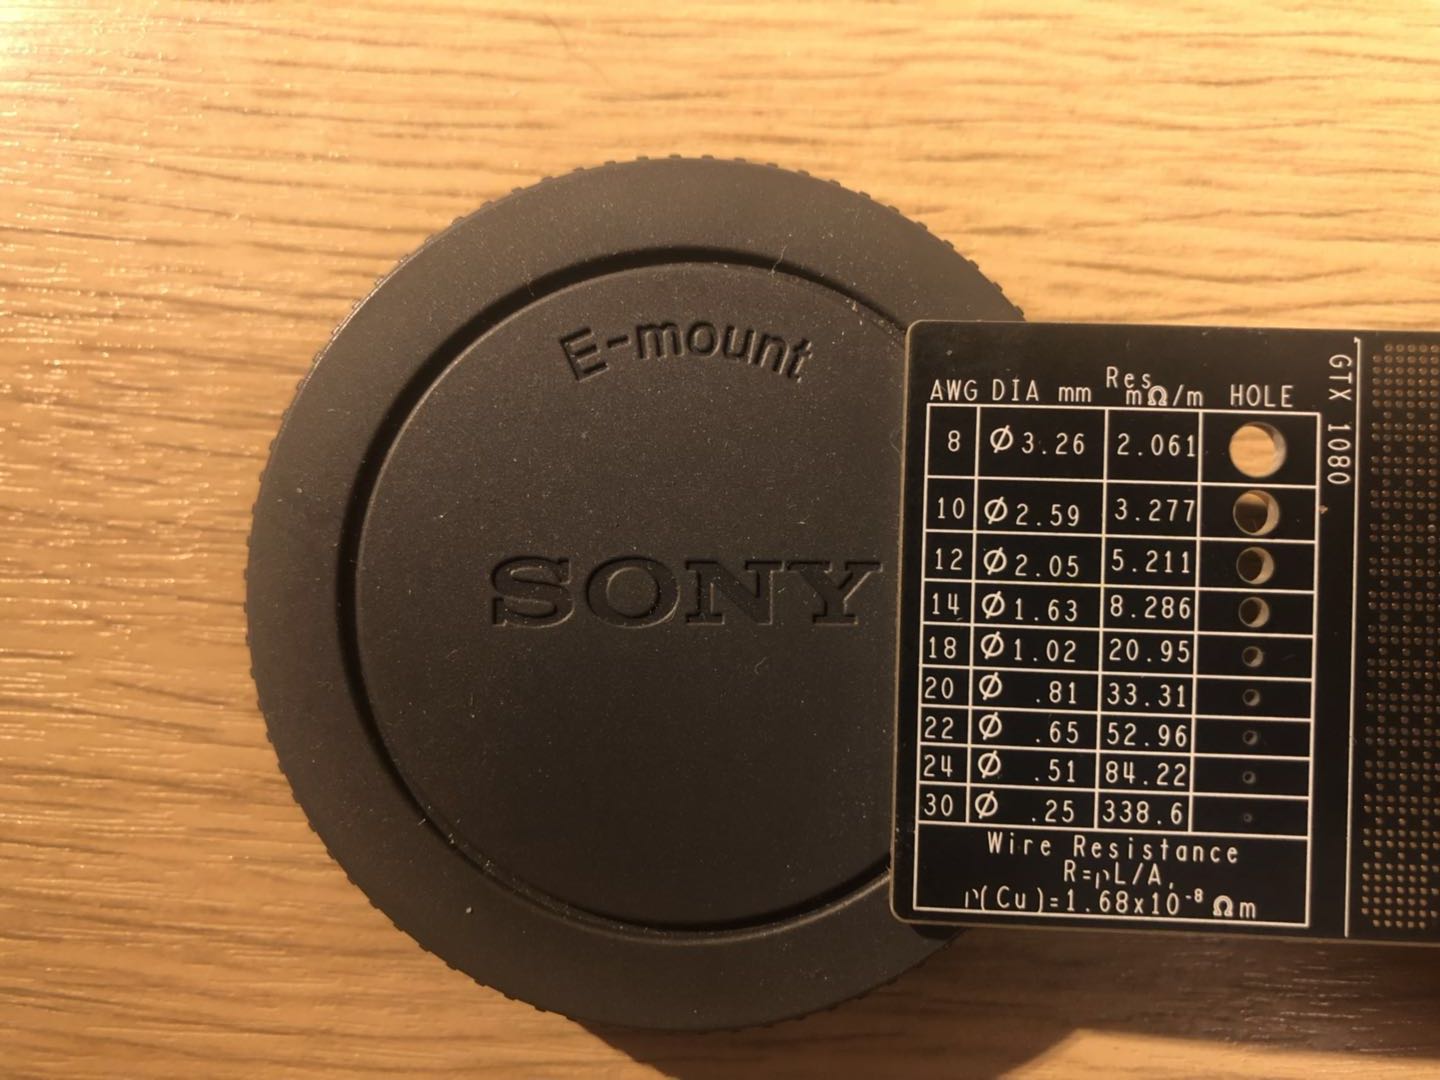
Original body cup with Nvidia ruler
But even you had a ruler like this, you’d better start from a smaller hole.
Gently knock on the needle eye until it about to penetrate on the other side.
Flip the body cup and repeatedly knock on the needle eye until you made the first hole.
To extend the hole, use a larger needle on both side and knock them gently.
Put the body cup back to the camera every time before you decide to use a larger needle.
The first few images may looks like this:
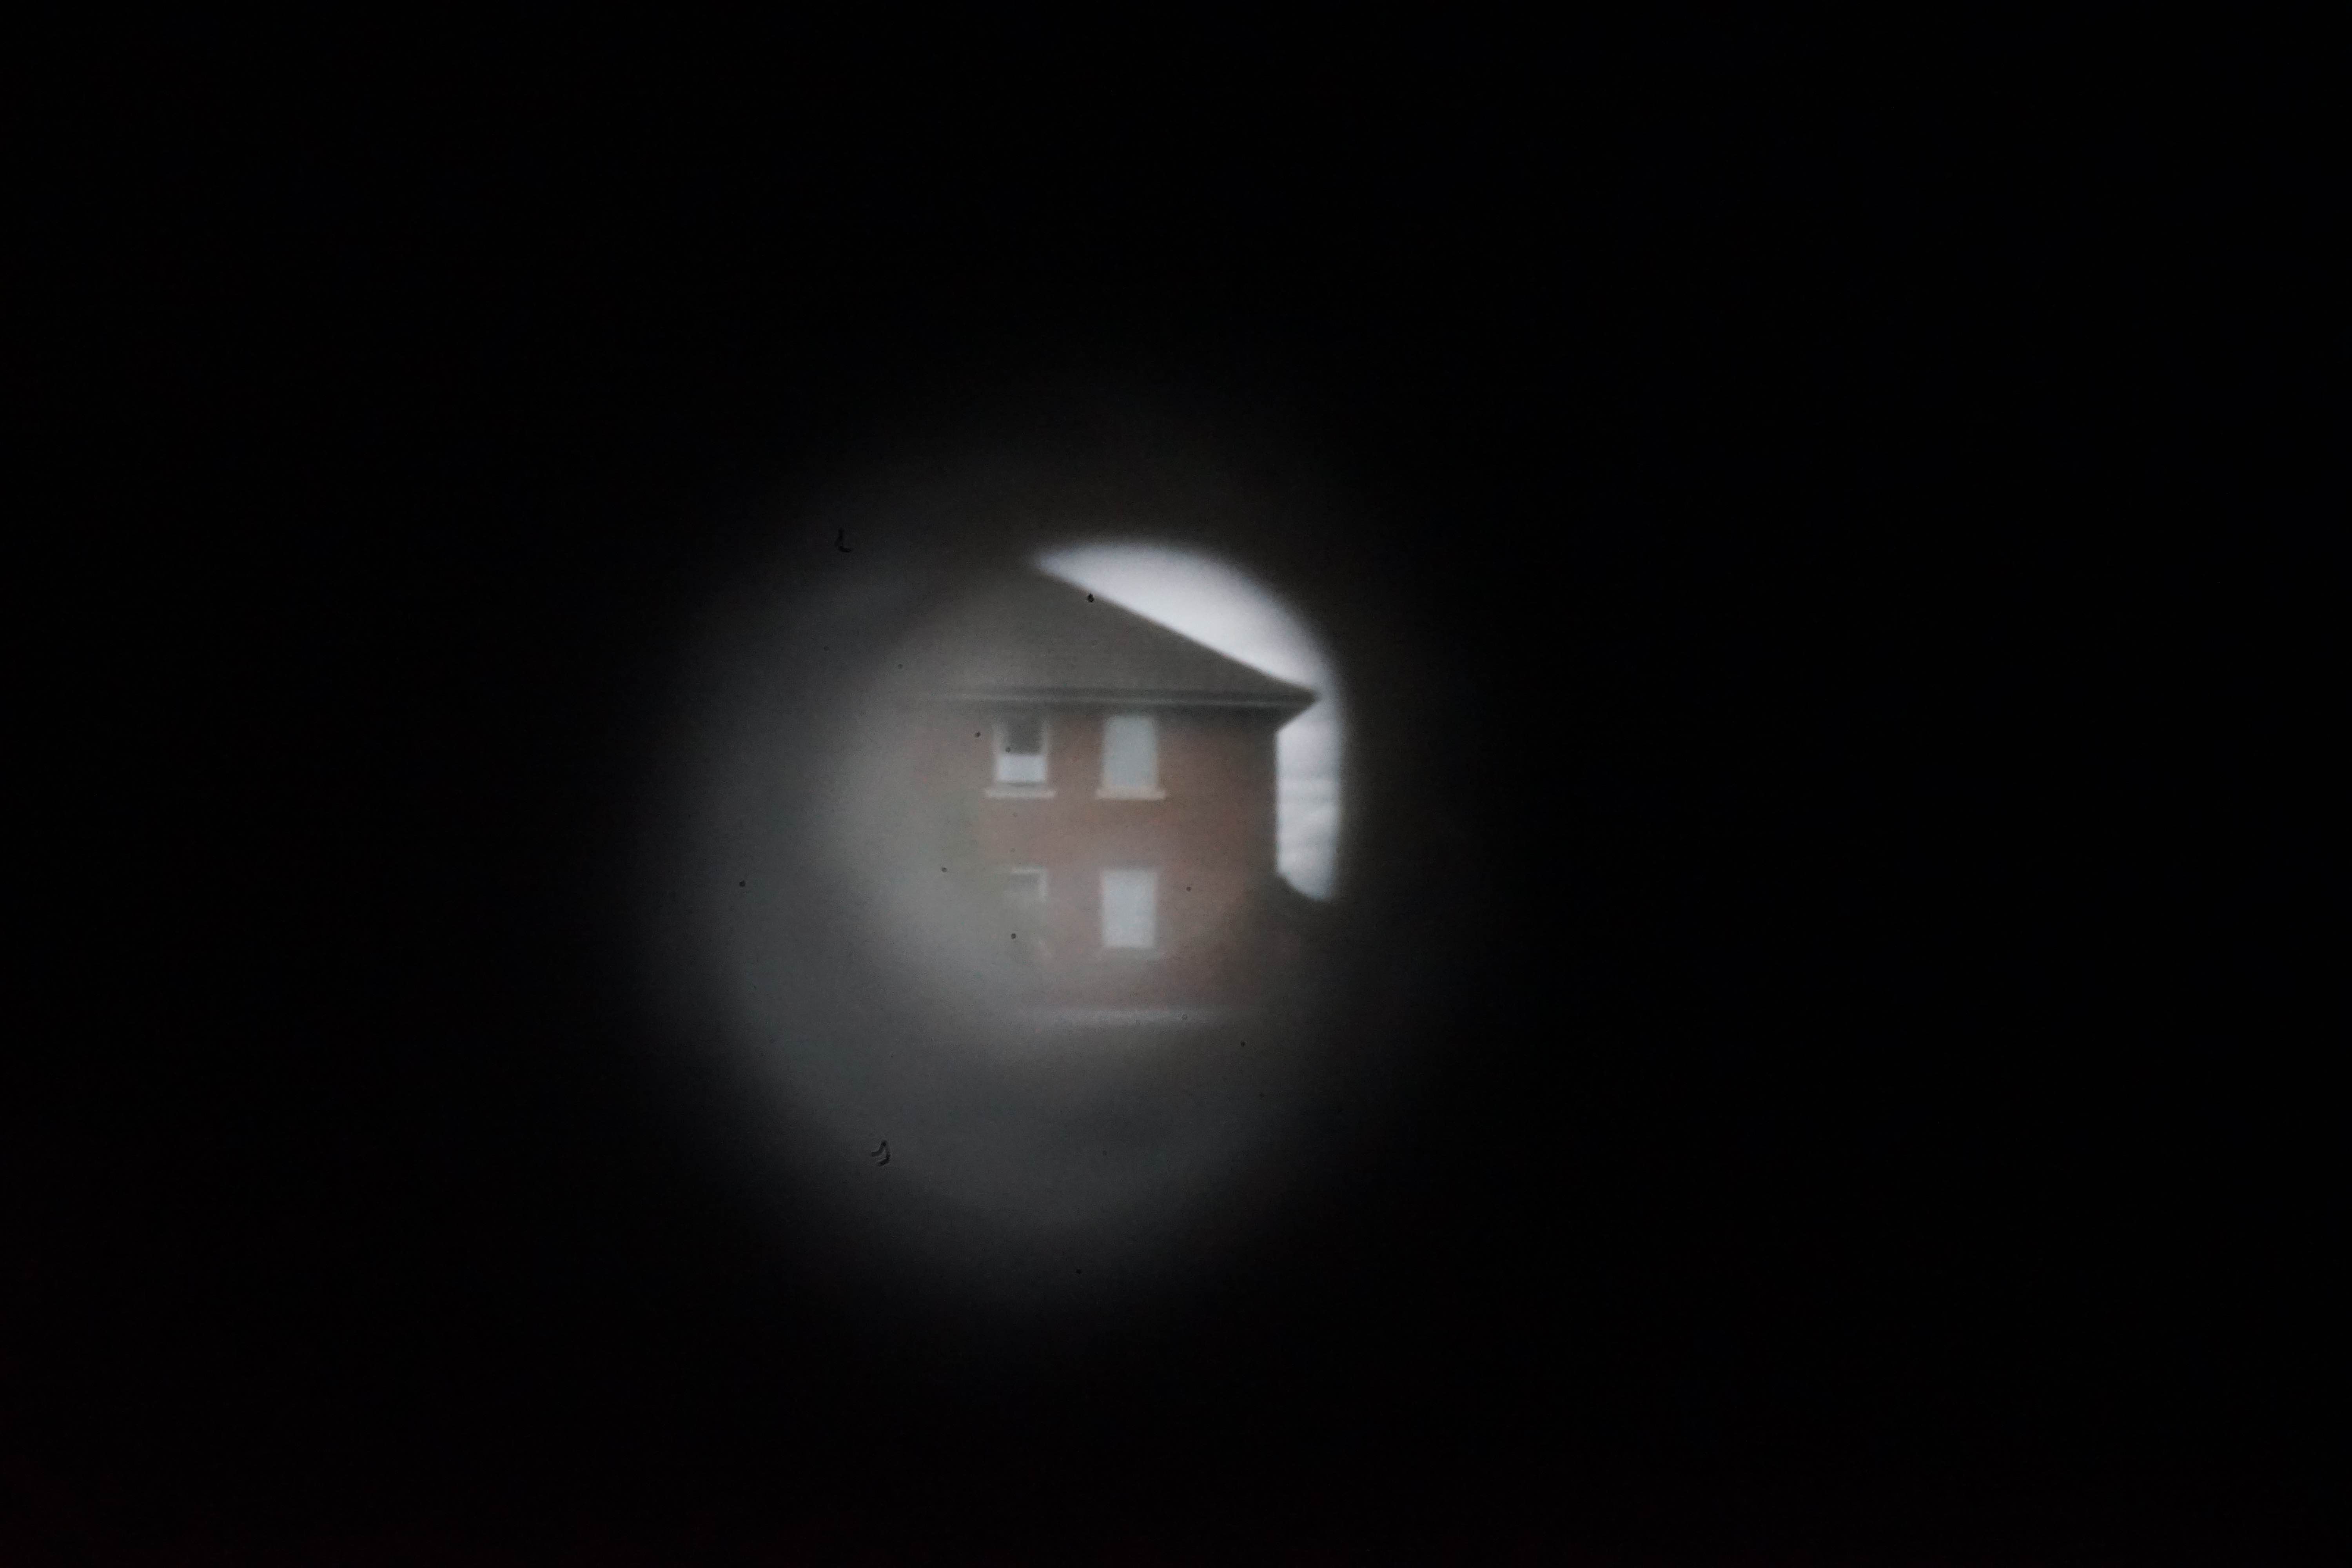
It is great that the pinhole is well centred in the body cap so the image in the middle of frame. However, only the centre of the image is visible and the rest part is black. This is because the body cup is not an ideally thin film that the thickness does influence the view angle.

We could make a step cut on both side of the body cup. This will help the increase the view angle and cover the whole area of the film (or CMOS sensor). The final pinhole len is somehow looks like this
Taking a picture
At the time when you taking your first picture, someone may kindly remind you to take out body cup before shot. Here are some tips or facts that might useful to create your own pinhole photos. When using pinhole lens under day lights, the camera (Sony A7II) suggested a 1/25s shutter speed with ISO 6400. This is still acceptable for hand hold shotting but prepare a tripod if you prefer a lower ISO or longer shutter speed.
Any dirt on your sensor is highly visible in the image due to the low light. Use the blower to clean the sensor if you mind those shown in red boxes.
Another tip is to use your hand to shield sun light if the diffraction distract the main object in the view.

Diffraction due to the sun
Handheld street photography with pinhole is also super fun – epsecially the low constrast add a bit vintage flavour to your image. I do enjoy take some pinhole photos at busy street where everything looks old fashioned.
Streaming pinhole
Although not recommended for serious work, you can stream pinhole video from most DSLR or mirrorless camera. For Sony cameras on Windows and macOS, please check Image Edge Webcam software provided by the vendor. On Linux systems, gphoto2 and v4l2loopback together could help you to easily create a virutal video devices on most cameras. You can stream yourself by selecting the external camera with pinhole lens and enjoy the blurness.
History of pinhole
There is an argument between who first discovered the pinhole effect. Aristotle in the west and Mo Di (墨子) in the east are commonly known as the first to mention the pinhole effect in their hemisphere. Atelier Bonryu presented a comprehensive review on the history of the pinhole effect and pinhole photography. I would recommend you to give it a read if you are interested in the origin of the pinhole photography.